Showing posts with label Photoshop. Show all posts

Thursday, February 10, 2011

Removing a Background in Adobe Photoshop


Open your picture in Photoshop. Copy the layer so that an original is kept safe, select the copied layer and press Q for Quick Mask mode.
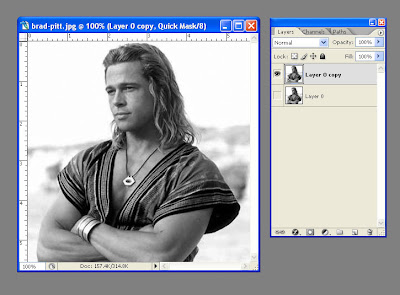


Select the color black from the color pallet, then select the brush tool. Color in the portion of the image that you would like to keep. Just mark a small area around the hair. I will take out the background behind the hair stands later.
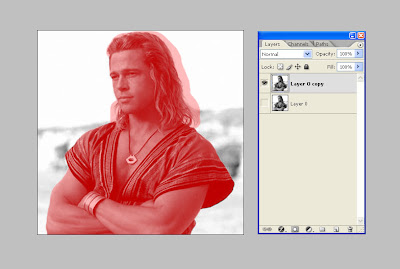


Select the Move tool, click on the unwanted portion of the image and press the Delete key. Deselect by choosing Select from the menu then click Deselect.
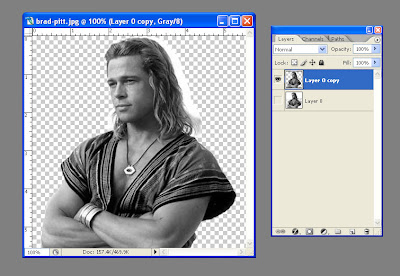


We can still see the background color through the stands of hair. It is time to get rid of that. Open the background eraser tool. With the Background Eraser selected, your mouse cursor will change into a circle with a small crosshair in the center of it. Click and hold the mouse down on the white portion around the hair and then run the mouse over the picture to get rid of the white color. Other colors of the image will not be affected.
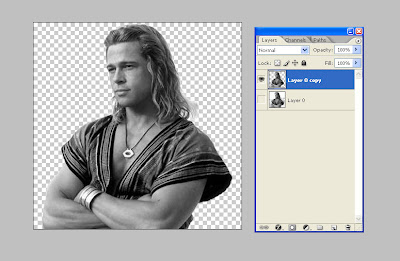


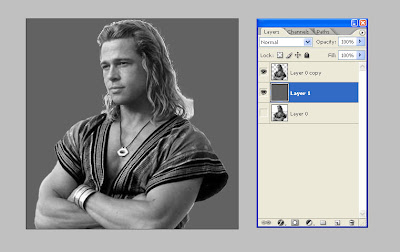
The last step would be adding a background color. I’ve added a layer below the layer I have been working on and filled it with a gray color.


Wednesday, October 13, 2010

How to Make a 3D Logo in Photoshop

Create a new image, setting the width and height to 300 with a background color of #3d3d3d. Rename the only layer we currently have a "bottom".


Select the Custom Shape Tool.


From the tool bar at the top of the page I have chosen the checkbox for this demonstration.


Draw the checkbox. Go to the Main Menu and select Filter > Stylize > Emboss. Apply the following settings.

Angle: 135
Height: 5
Amount: 75%


Put your shape in the center of the document. Your image should look like mine.


Make sure the checkbox layer is the selected layer. Press and hold the Ctrl & Alt buttons and press the up arrow key about 12 times to create the 3D effect.


Select all the checkbox layers that you just created and use the Ctrl E keys to make them into one layer. You should now have two layers.


The next step is to add color to your logo. Notice that I have also added a Drop Shadow.


Add a layer below the checkbox layer and choose a color for your background. I have chosen white. Make the other background color invisible. Below is the finished product.