CRM makes it easy to create a simple entry form that can be used to store data. First, navigate to the customization section by going to Settings-Customization and selecting Customize Entities. Then click the New button.
Some basic information must be completed for the new entity, such as Name, ownership and where you want this new entity to appear. We will create an entity named Album to store information about... well, albums. We will select User for the Ownership and uncheck Activities from the relationships. Also, I will show this new entity in Service, so we will check that box. On the Primary Attribute tab, I am just taking all of the defaults. Click Save and you have yourself a new custom entity. At this point it will only hold the name of the album and some notes, so let's create some attributes for our album.

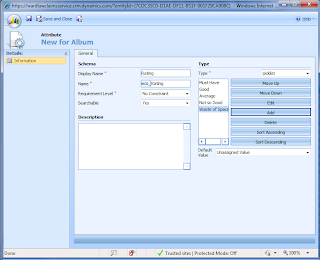
To create attributes go to the Attributes tab and select New. Type Artist in the Display Name field and click the Save and New button. Do the same for Title. The nvarchar datatype is fine for those two attributes, but now let's add Release Date as an attribute and specify datetime for the Type. Again, click Save and New and let's create a rating attribute and specify a type of Picklist. You now have the ability to add pick list options. I added the options in the image below, but you can make the values whatever you like. Click Save and Close.
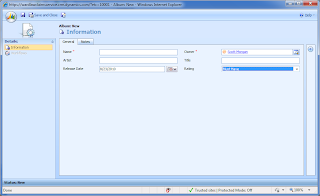
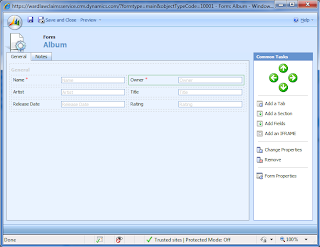
Now that we have some custom attributes, let's add them to our form. Select Forms and Views from the Album tab and then double-click the Form entry. Next, select Add Fields and select the four attributes you just created. Arrange the entities on the form however you like. I included a screenshot of what my form looks like. You can also preview what the form will look like by selecting Preview from the toolbar and then Create Form. When you are satisfied with your product select Save and Close. Now click the Publish button from the Album form to publish your changes.


Next, browse to the Service Section and add albums.
No comments:
Post a Comment